
 First I pre-punched the shapes that I wanted to use on my layout to see exactly where I wanted the real punches to go on my layout. I used the Martha Stewart anywhere star punch for this:
 After figuring out the general area, I lined up the punch and punched the stars out of my layout
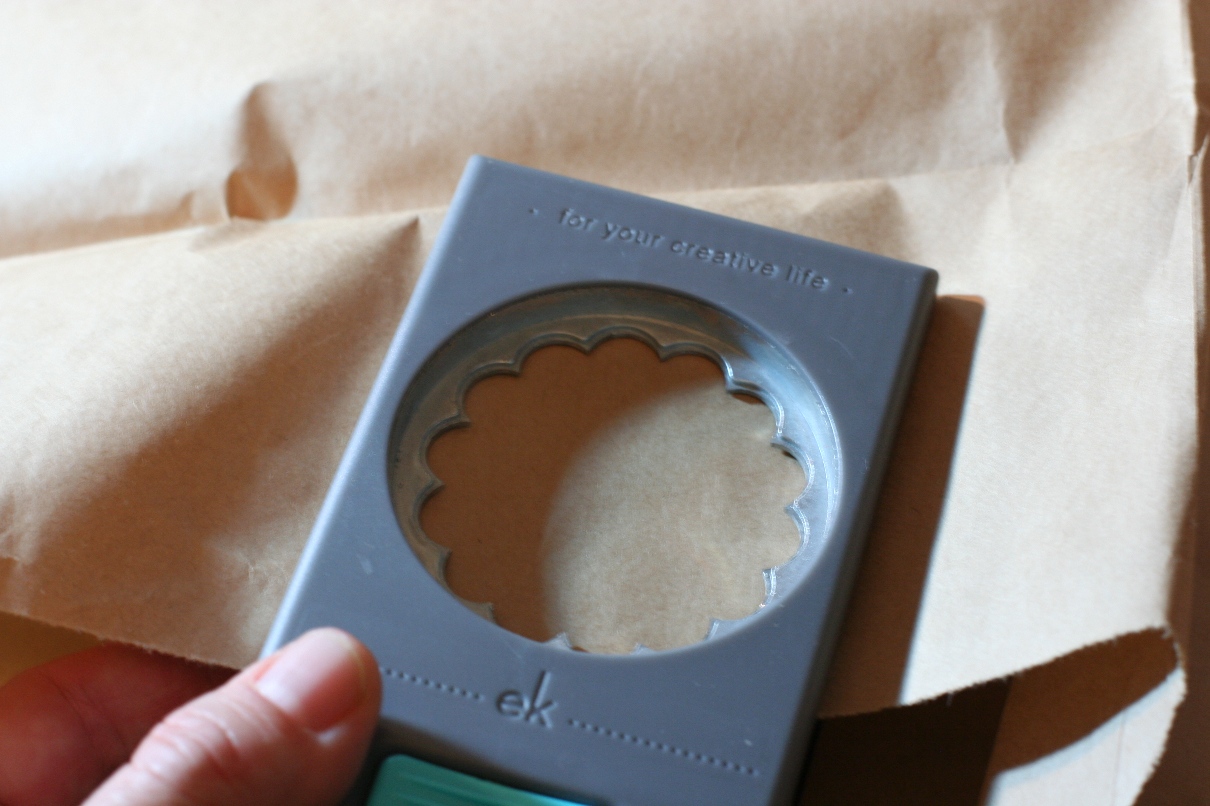
For filling in the star shape I wanted to use brown paper bag that I had, so I punched out some shapes that were large enough to cover the stars on the backside of the layout. I used a punch, but you could just as easily just cut a piece of paper out with your scissors.
I crumpled the punched shapes up, then straightened them back out and lightly spritzed them with some Maya mist.

I then attached the shapes to the back of the layout so that the star holes were completely covered.

This is what it now looks like on the front of the layout.

I then used my sewing machine set on a tiny zigzag and sewed around the edges of the stars. You could also handstitch around the edges if you preferred.
 Hope this inspires you to do some stitching on your layout!! Have fun creating!!
Wow, love how that turned out. I think I might try that with a butterfly punch (Ahhhhh, might be a little hard to sew around though!!)
ReplyDeleteanother cool idea to try. thanks!
ReplyDeleteGirl you rock! You are always so inspiring! I am having trouble sewing a straight line, sewing around something would be a tough thing for me.
ReplyDelete