Thursday, December 29, 2011

Finding time to create!!

Last night was the first time in several days I've actually had time to make anything - and I cranked out 2 layouts - that's unusual for me since I usually take a day or two to arrange and rearrange just one layout...LOL!! I used my December Studio Calico kit for these - it's been sitting on my desk all month and since I just ordered a ton of stuff from them for January, I really need to start using this up!!


I will be challenging myself and my family starting next month - in January we will be on a spending freeze and I will now be buying anything that is not essential in our lives - aka food and gas for the cars. I plan on doing this month to month, so if all goes well we'll do this in February too! That means no extra scrappy supplies, no Route 44's during happy hour (I'll really miss that!), no new clothes, no nothing! I did this once before and it wasn't that hard for a month. I'd like to actually do this for the next 6 months since we will be going to Washington DC this summer - I can save up lots of money for our trip! :)

Wednesday, December 21, 2011

Old Fashioned Tussie Mussies

I just love making these every year!! They're quick to make and so festive and old fashioned!! I plan on hanging these on the tree for Santa fill with candy for Christmas morning! These year I used a punch from Just Imagine/Kreaxions to make the border around the lip of the cone!

 Here's a link to the blogpost at JI where these are featured!! Thanks for stopping by!!

Friday, December 16, 2011

A Christmas Layout

I'm so tired of doing my December Daily that takes up most of my scrappy time that I just had to do a layout last night! It's just a bunch of random shots of my Christmas decorations. I used my December Studio Calico kit to make this with just a few of my own extras! I did some heat embossing, stamping and some twine swirling - love to do that!! TFL!

Tuesday, December 13, 2011

Getting Caught up in my DD - Day 5-9 & 12

I did get caught up somewhat in my December Daily this past weekend! I'm not totally caught up, but I did get a big chunk done, and I do have ideas for the two pages from this past weekend - I just need to get some pictures printed!
Day 5
This is my least favorite page so far...the concept just didn't transfer from my head to the page - but it's done and I DID get the journaling done that I wanted. I also used a vintage picture of my sister, Dad, and myself!
Page 6


This page was sweet and simple to make. I've been taking pics of my silly kittie Gremlin (and Ginnie's in one of the pics!) with my Instax camera as he's been investigating the tree. This is the first year that he's ever done this and he's driving me crazy climbing up the middle of my tree!! Thank goodness it's a very broad tree and he's a light cat so it's never tried to tip over!!
Day 7


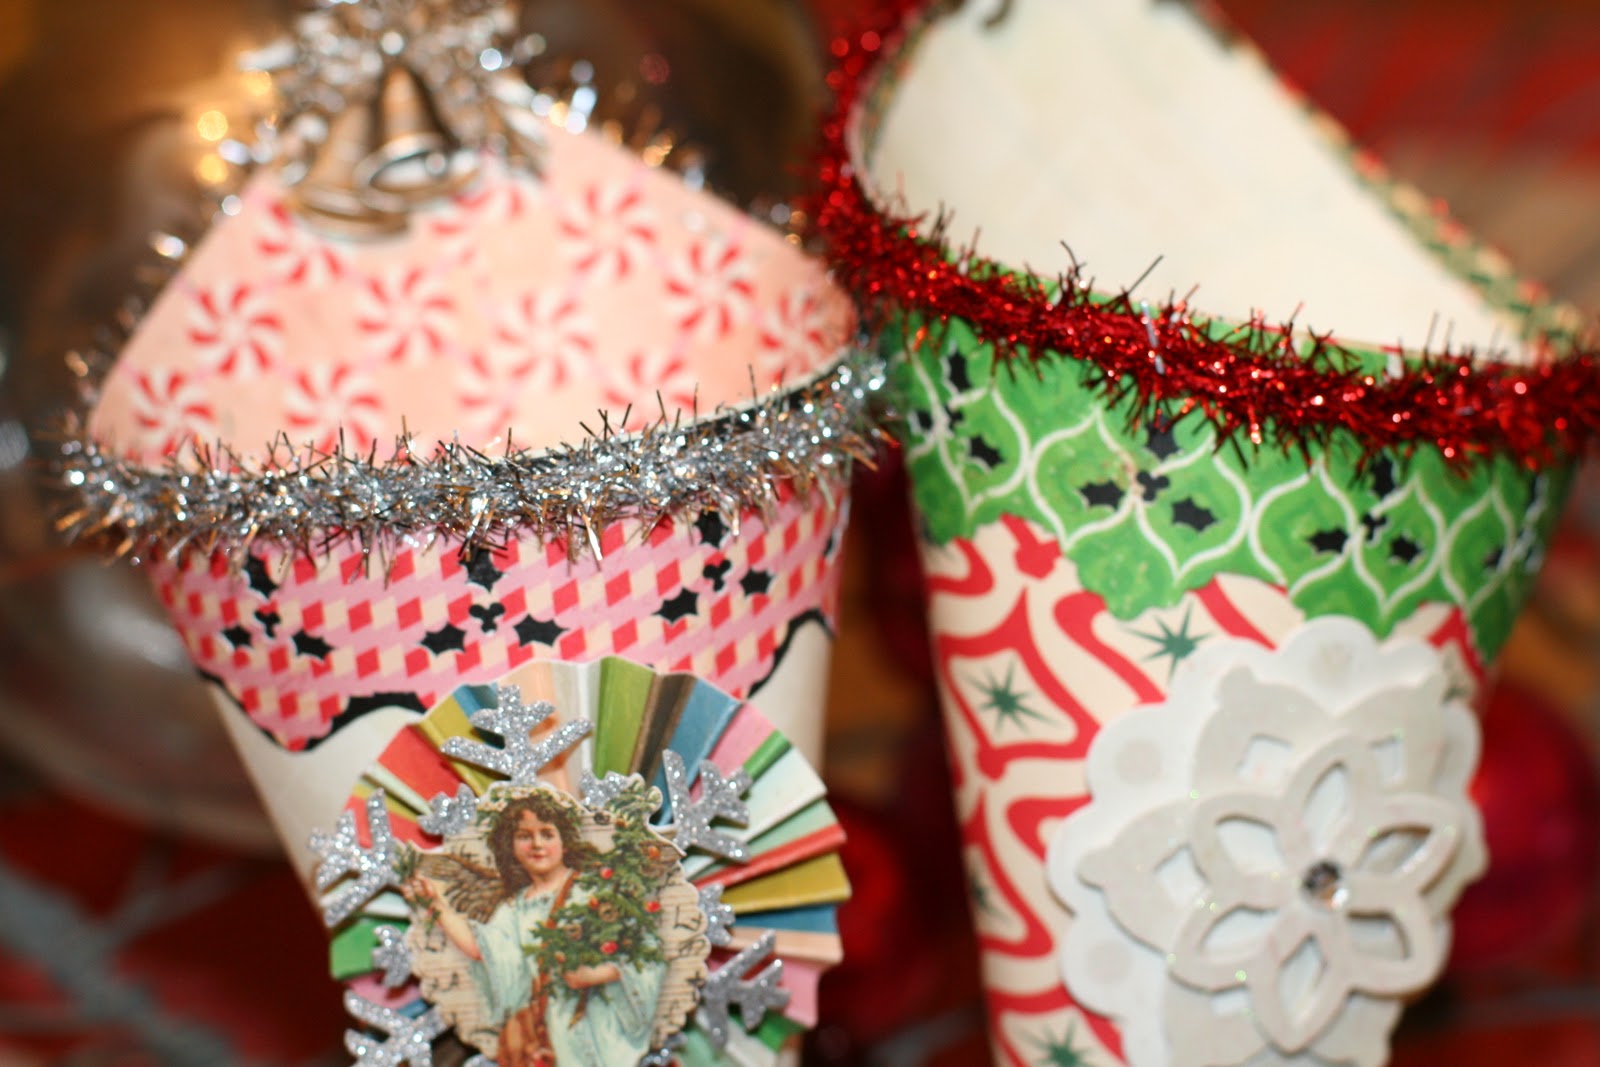
I love the way this spread turned out! This is just some photos of some of my favorite ornaments on my Christmas tree that I finally put up last week! I really like the way the punched branch border (Martha Stewart) looks and the twine across the pages from The Twinery!
Page 8


I adore this spread!! I love the photo of Danielle and the memory of the night is perfectly captured here!! I am so glad I got that twine - I want to use it on every page now!! I really like the way it captures the vintage feel of Christmas! We had a great time at her concert and they played flawlessly - even the sight reading piece that their band director sprung on this unexpectedly!!!
Day 9

This is the newest addition to our family - out little Maltese Zoey. It's her first Christmas (she's 10 months old) and she fits right on with all the kitties and our other puppy!! I told you I loved the twine - I just had to use it again around the stamped envelope! :)
I skipped days 10 & 11 for right now
Day 12


Another favorite of mine because of the pictures!! Danielle had an eye appt and I had to take Jonathan back up to school for his finals this week - so we stopped and had some lunch first! These two were acting so silly and I was SOOO glad I had my Instax camera with me!! My kids are truly my JOY!!
If you could stand to do it, thanks so much for sticking with me throughout this very llloonnngg blogpost - it feels good to be caught up!! :)

Thursday, December 8, 2011

December Daily Day 3 & 4

OK, I'm a little bit behind, but I am working on pages 5 & 6 today and will hopefully get caught up by tomorrow as I usually don't scrap on the weekends! This is Day 3 - Our new New Orleans Saints Christmas tree


Since all of the foundation pages are already made, there are some pops of red and green, but I did all the embellies in black and gold - the Saints colors. I've always wanted a small specialty tree to decorate and we found this black and gold one in Hobby Lobby this past weekend!
Day 4 is of our unexpected snowfall that happened the other night! Danielle ran out to see the first little flurries. The flakes got much bigger later on and took a picture then. The main picture was our backyard the next morning.


TFL!!

Wednesday, December 7, 2011

Christmas Tags for Just Imagine/Kreaxions blog today!

Here a couple of tags I made for the Just Imagine/Kreaxions Blogpost today! Check it out here! Thanks for stopping by today! Hopefully I will have the next couple of days of my December Daily posted later!

Saturday, December 3, 2011

December Daily and Tim Holtz Tags of Christmas - Day 2

This is day 2 of my December Daily. I made my album so that when you opened up the pages pages, the faces pages could be like a 2-page spread if I wanted it that way. I have a pocket page in between the two pages sewed in different spots after I filled it with things. My daughter had her Jazz band Christmas Concert on this day!


I also was able to make the 2 tag of Tim Holtz's 12 tags of Christmas. It's really close to his as I had most of this items that he used. Here's his tag:

And here's my tag:

He used his Kraft resist paper, and I didn't have that so I tool a piece of similar patterned paper, and heat embossed the saying on the side with clear embossing powder. I did the same with the holly in the corner. I didn't have the same color paint as he used, but I used a similar color to get the white effect on the tag. I had the reindeer diecut, so I was able to make that - but not exactly the way he did. Tim used some sticky back canvas that he attached to some grungeboard. I didn't have any of the sticky back canvas, so I just took a regular canvas (made for painting) and cut out the middle and diecut it. I then diecut a piece of grungeboard and glued the canvas on top of it. It looked exactly the same! I already had the star charm and I bought some of the green tree garland that the wreath is made of at Hobby Lobby for $1. I didn't have the die that Tim used for the bottom piece, so I just used one of my (many) border punches and punched a piece of grungeboard to use. The bottom piece is supposed to have brads across the bottom which have been hit and distressed with a hammer, but I didn't have any, so I used some silver dew drops that I had and colored them with some alcohol ink. I used the underside of the dewdrops instead of the rounded tops to give it the same kind of distressed look as Tim's tag. I had the same ribbons and charms for the ribbon decoration. It looks so much better in person than the picture shows, and it's really close to Tim's! Hopefully I'll have some time tomorrow to work on the next tag and album pages! TFL!

Friday, December 2, 2011

December Daily cover and Day 1

I started my December Daily album yesterday and I completed the first page. I'm working on the second page tonight so I will post it tomorrow. I am using the Ali Edwards DD kit offered by Studio Calico.


The first page is of some of our new ornaments that I am using this year. They are things that I've been collecting for the past month as well as things I've made (the faux mercury glass trees). I used my Selphy printer to print the collage photo. The cover came as just plain chipboard. I painted it with gesso, sprayed it with some silver plated Maya Mist, covered it with a diecut snowflake background that I cut using my Silhouette Cameo, and then I mod podged over the whole thing. I then added some glitter stickers for the titles.TFL!

Thursday, December 1, 2011

Tim Holtz 12 Tags of Christmas - Day 1

I am attempting to make Tim's tags this year. I followed along 2 years ago, invested a lot of money in supplies, and made the whole set. Last year I followed along, invested a lot of money in supplies and did not make 1 tag!! This year, I plan on keeping supplies to very minimal - most everything from my stash. The only way I will invest any money is if I absolutely have nothing that can substitute to my liking! So here's Tim's tag
It's gorgeous as usual, but the only thing I had was the die to cut the banner. I improvised A LOT on mine. Here's my tag
I didn't have the embossing folder that Tim used on his tag (and he also used cardstock for the tag itself which he diecut), so I took a regular tag and sprayed it with a blue mist. I then took a snowflake background which I cut with my Silhouette, and used it as a mask and spritzed some white spray mist on top of that. I then stamped a few small snowflakes using silver Stazon ink. For the Noel, I also cut that with my Silhouette. I didn't have the pinecone die to make the pinecones, but I did have a scalloped edge die that made the same spiral cut as Tim's pinecone die and used the same technique as he did to make mine. I did have the banner die which I used to cut the banner. I didn't have the die to cut the greenery so I just used some artificial greenery from some of my old Christmas garlands that I don't use anymore. For the scrolls, I used a piece of diecut chipboard that was already in the scroll shape and inked them and them covered them with Distress Stickles (picket fence). I didn't have any pearl like charms, so I just attached a metal snowflake to my tag near the ribbon - I do plan on purchasing some pearls and attaching them tomorrow. I am just about finished with my December Daily page for the day - I will post that later this evening! TFL!!

Wednesday, November 30, 2011

So Proud of my Chem major son!!

Whew - it was a busy, but fun Thanksgiving break this past week!! I had all my kiddoes home with me and we did a lot of visiting, shopping and eating!! I've had this layout sitting on my desk finished except for the journaling since before Thanksgiving week. I've known what I wanted to journal, I just needed to find the time to sit down and get all the words and feelings figured out just right before I typed them up on the tags. This was a bittersweet moment for me when I took this picture of my son. I tear up every time I look at it and think about how very proud he was to show off the research that he's been involved with for the past 2 years involving Super Critical Fluid Extractors (I've heard about it an awful lot from Jonathan!!) and the work he, his team, and his teacher are doing with Aboriginal cave paintings in Australia and the Chauvet cave paintings in France and carbon dating. From what he's said, they've come up with a technique to completely remove impurities without harming the samples they are testing. Very cool stuff!! I'm so very proud of him, but I'm also a little bit sad, because I know next year he will be going off to Grad school and I will miss him so very very much!!

I used my Nov Handmade Studio Calico kit to make this layout - with some punches (the plaid border punch by EK Success and the Medallion Martha Stewart Punch) and some extra goodies I had sitting on my scrap table - LOVE those wooden Prima buttons!! I did a lot of misting and used a few star SC rub-ons that I've been hoarding!! TFL!

Wednesday, November 23, 2011

Something Cheerful for Mom


This is my blogpost this week at the Just Imagine/Kreaxions blog.
It's been such a gloomy week weather wise here I decided I needed to work on something bright and
cheerful! I like making cards ahead of time so I'm not scrambling last minute for one, so I made a Mother's Day card for my Mom and it's got nice, bright and cheerful colors in it to brighten my day (and hers too when Mother's Day comes around!!).


I used two punches to make the rows of flowers on the top tag - the base flower is made from the 603 Lotus punch and the centers of the flowers are actually the punched leftover from the 4 in 1 902 Daisy punch. I just used the little leftover daisies which were punched from the glitter paper available here.
To make the repetitive punches of the flowers so so much easier, I used the Punch Mate tool. It was the first time I used that tool and it was so easy to use and made punching several of the same shapes so very quick! Thanks so much for stopping by and I hope you have a fabulous Thanksgiving!!

Monday, November 14, 2011

Weekend Crop Fun!


I had a blast at the crop I attended this past weekend! It was fun catching up with people I hadn't seen for a while and I actually got some things accomplished that I planned to do! That's always great for me since it usually takes me forever to make one page!! I made these two pages using my November Studio Calico kit and I also worked on my December Daily album - I got the foundation pages made. I will share my progress on that in the next day or two! I love the 3in1 heart punch by EK Success that I used in the bottom layout. So much punchage out of one little punch!!! And on the "reflection" layout I used the packaging from the MME buttons that were in the kit - I always save and use the beautiful packaging! TFL!

Thursday, November 10, 2011

Pumpkin Love

Just a quick layout I made yesterday for my blog post for Just Imagine/Kreaxions punches using one of the 4 in 1 border punches which I backed with some green cardstock to make it pop on my layout. I used my November Studio Calico kit to make this! Check the blog out to see all the details!! TFL!

Wednesday, November 9, 2011

Nov Theme for GCD Studios

I was inspired by the color inspiration to make this layout of Rusty! My Golden Retreiver LOVES the fall season - it's nice and cool for him to run in our backyard - and he loves to pose for pictures for me, so when it turns colder I take him out to have his pictures made! He's so pretty when he starts growing his thick winter "coat". I love how this year he's starting to get a white beard..LOL! I used papers from the Soul Food collection as well as the Homespun Chic collection and the chipboard accents and letters are from The Great Outdoors collection.

Supplies: Patterned Paper -GCD Studios: Vintage Birdie, Homespun Chic ; Brown Mod, SoulFood ; Lovely Green, Soul Food ; Chipboard Letters, Great Outdoors ; Chipboard Flower, Chipboard Stickers, Great Outdoors ; Twine, Twinery; Punch, EK Success; Artisan Tape, American Crafts; sticker letters, Sassafras.


Tuesday, November 8, 2011

Brother/Sister/Friends


I'm really having fun using my new Silhouette Machine!! The images I cut out and put on my layout are the birds on a wire and the camera. I used my October Studio Calico kit for this. TFL!

Wednesday, November 2, 2011

Faking Mercury Glass...

I got this fabulous idea off of Pinterest one day when I was searching for Christmas decorations on how to make faked mercury glass looking items (sorry, I don't remember where it was or who it was that I got the idea from - it got lost in the sea of Pinterest items!) and I thought I could easily do this!! Mercury glass items are all the rage in the Pottery Barn catalogs this season - but this is done at just a fraction of the price!! All you need is some Krylon "Looking Glass" spray paint, some glass items, and some black paint. I got the Krylon at M's using a 50% off coupon (I got the last two cans of it on different days) and I scoured my local thrift store and bought all my glass pieces at $2 each or less (the glass Christmas tree was only $1!!).

You simply have to spray several thin layers of the looking glass paint on the inside of the glass pieces (If possible - I wasn't able to do that to the candlesticks, so I just sprayed the outside of them). It takes a while and several coats of paint - making sure that it's dry between each coat. The small candlesticks took the paint the best - they are 25% leaded glass (still had the tags on them) so I don't know if that had anything to do with it. The Christmas tree was the hardest to do because the paint just kept sliding right off of the glass. I finally just sprayed a whole bunch on the inside, set it on it's side and rolled it back and forth for several minutes until it got coated. It's not perfect, but that's ok - mercury glass has an imperfect look to it anyway! After the pieces were coated how I wanted them to look, I took some black paint (which I already had) and sponged little spots all over the pieces, making sure to kind of rub it in with my fingers so the black wasn't so sharp and crisp looking. After the black paint dried, I sprayed one more thin layer of the silver on top of it.
I love the way these turned out, and all I spent was $22 in total which includes both cans of paint and all the glass pieces!! I can't wait to start decorating for Christmas now!!


BTW - the red is not on the pieces - it is just a reflection of something that was sitting next to them!


TFL!!